To make a good impression over video, looking your best is important – and not only for the reasons you might think. When you look good, you feel good, which boosts your confidence. That’ll affect your performance in a big way, and, in turn, impact your audience’s perception of you and your message.
Whether you’re representing yourself or your brand on video, taking the time to set up a beautiful, high-quality image is worth your while. Not sure how to make this happen? No problem. Let this blog be your instruction manual for how to look good on camera.
1. Get that background sorted out
Think about what your viewers will see in the shot besides you. You want your background to be simple yet aesthetically pleasing. Things like large bookshelves, plants, and brick walls always look great. Avoid busy backgrounds, and eliminate distracting elements.
Make sure the background is nice and tidy – especially if it’s a shared-use space or you’re working from home. The last thing you want is to discover a rogue pair of socks in the frame after you’ve finished filming. Be sure to check all surfaces visible in the shot.
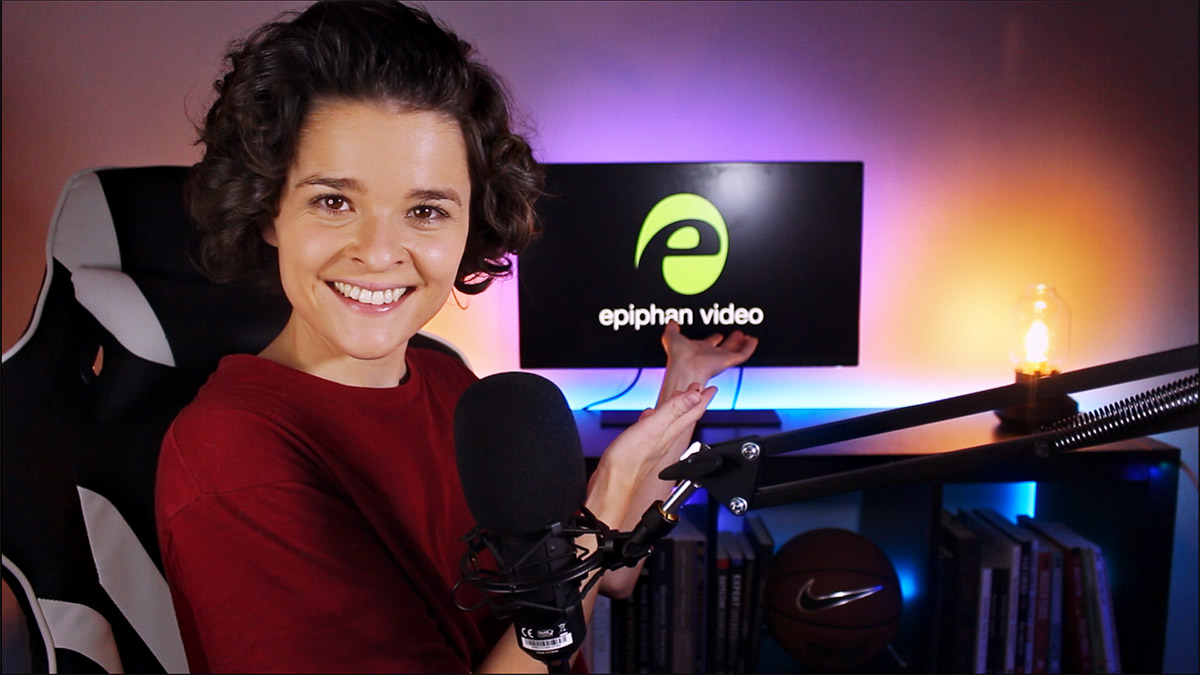
If your background looks too bland or flat, liven it up with a few decorations. For example, you can hang something on the wall (e.g., a painting, a guitar, string lights) or arrange a few of your favorite knickknacks on a shelf. Dim accent lights like salt lamps or LEDs can add some vibrance to the environment.
An alternative to using a practical background is to set up a vinyl, paper, or cloth backdrop. These can be solid colors, prints (e.g., brick), or even a green screen that you can replace with any image you want.
Get inspiration for your background
Learn by example: get some visual inspiration for your at-home setup, check out Room Rater on Twitter. This sassy account rates screenshots from video conferencing apps.
Room Rater Update. 10/10 @KimberlyEAtkins has fresh flowers and new pooch art. pic.twitter.com/kB1zY0iwOp
— Room Rater (@ratemyskyperoom) June 24, 2021
2. Use a good camera
If you want to look your absolute best, a USB webcam won’t cut it. The best option is to get a DSLR or mirrorless camera with a clean HDMI out signal. Some affordable options include models like the Canon M200, Sony a6400, and Panasonic Lumix GH5.
For example, in the video below, Dan is using a Canon M200, and George is using a Sony a5400 digital camera:

In the market for a camera? Be sure to check out our blog all about which cameras are suitable for live streaming and video calls.
Note that, to bring the video signal from your camera into your computer, you’ll need an HDMI to USB adapter, also known as a capture card.

Go beyond webcam quality
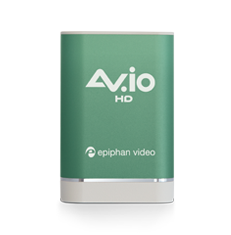
Epiphan AV.iocapture cards make capturing video from HDMI cameras on Windows, Mac, or Linux as easy as using a plug-and-play webcam.
Discover AV.io capture cards3. Position your camera properly
Position your camera at eye level or slightly above. The ideal distance between you and the camera will depend on the camera’s lens and how much space you have to work with.
The more distance you have, the better. By allowing enough space between the subject and the camera (at least 5 feet) and the subject and the background (another 5 feet), you’re creating depth of field and adding dimension to the shot. Plus, with the right camera lens, the background will have that neat blur effect (called bokeh) you’ve probably seen in lots of professional productions.
4. Light it right
Good lighting makes a huge difference, so investing in a few video lights is worth it. Using natural light as a source is possible, but it’s tricky since that lighting is apt to change with the weather and as the day rolls on. Artificial lights are best.
A set of LED lights will serve you well. These are easy to work with and won’t run hot. A tripod is the simplest solution for mounting these, though clamp mounts can also work.
Three-point lighting

The standard, most basic way of setting up lighting is known as three-point lighting. It goes like this:
- Place one light about four to five feet in front of you. This will be your main (or key) light.
- Set a second light the same distance, about four to five feet in front of you, spaced out about three feet from the first light. This second (or fill) light will counterbalance any harsh shadows on your face cast by the key light.
- Position a third light behind you to create a nice rim of light around your silhouette, helping separate you from the background.
For a more in-depth look at three-point lighting, check out our clip on that subject:

5. Get yourself ready
The clothing you wear and how you do your hair and makeup are important to consider beforehand. Reason being, not everything looks great on camera. Here are a few guidelines.
Clothing
A solid shirt and dress colors work best. Avoid:
- Prints with overly saturated colors, small prints, or stripes – they might create a jittery effect on video
- Anything green if you’re planning to shoot in front of a green screen
- Clothing that’s pure white or black – it creates too much contrast.
Hair and makeup
- Check for flyaway hair (a bit of hairspray will help if you find any)
- Control perspiration. It’s only natural to sweat more when you’re before bright lights and are under pressure to perform. Use blotting paper and translucent powder to help prevent shine.
- Choose natural lip, blush, and eye shadow colors if you’re wearing makeup. This is known as “no makeup” makeup, which is what looks best on camera.

6. Action!
Your on-camera performance matters just as much as your appearance. If you’re avoiding eye contact with the camera while mumbling under your breath, not even the best camera in the world could save you.
Remember to sit up straight and elongate your neck. This will improve your posture and help avoid a double-chin situation. Don’t forget to smile!
Often, feeling comfortable in front of the camera makes all the difference. Take a moment to loosen up before shooting the video. It may also help to record yourself and watch it back. If you’re recording, there’s no harm in doing a few takes before finding that keeper.
Go above and beyond with a branded layout
Are you joining a virtual event, a webinar, or an interview as a remote participant? Or perhaps you’re recording an elevator pitch for potential investors? Take your video presentation to the next level by adding branding elements like titling, a logo, or brand colors. Imagine the great impression you can make on those watching your video content.

Epiphan Unify can help you achieve that professional look. Combine, crop, and scale video sources to create dynamic, professional-quality layouts to fit any application. With the Epiphan Connect tool, you can even bring Microsoft Teams participant feeds into your productions in Full HD and with isolated audio.
Epiphan Unify is the perfect cloud-powered production platform for everything from on-demand content to live webinars and hybrid events – and it’s compatible with a wide range of cameras and encoders.
Check out the Epiphan Unify page to learn more

